How to Deploy a Sage Theme to WP Engine
Sage is WordPress starter theme with a modern development workflow. However, deploying a Sage theme can be difficult because of its dependencies, most notably Composer and Yarn. In order to deploy a Sage theme, you need to be able to run both Composer and Yarn on your server. Furthermore, Sage doesn’t officially support hosting at WP Engine. You could deploy Sage via FTP, but this approach is error prone and inefficient. Fortunately, there are services such as DeployBot and DeployHQ that can run these builds, and them push the distributed files to the server. For this tutorial, I am going to be using DeployHQ.
Step 1: Update Sage Configuration
Before we can configure DeployHQ to build our Sage theme, we need to take care of a bug in config/view.php that causes a wsod.
Update wp-content/themes/your-theme/config/view.php by replacing 'compiled' => wp_upload_dir()['basedir'].'/cache', with 'compiled' => '/tmp/sage-cache',
The rest of the tutorial will assume you are using DeployHQ to handle building and deploying your Sage theme
Step 2: Configure DeployHQ Servers & Groups
Next we need to configure both the deployment path and the update excluded files for future deployments.
Step 2.1: Update Your Deployment Path
Update the deployment path to where on the server should your files be placed. In this case, we just want to upload the theme.

wp-content/themes/your-theme
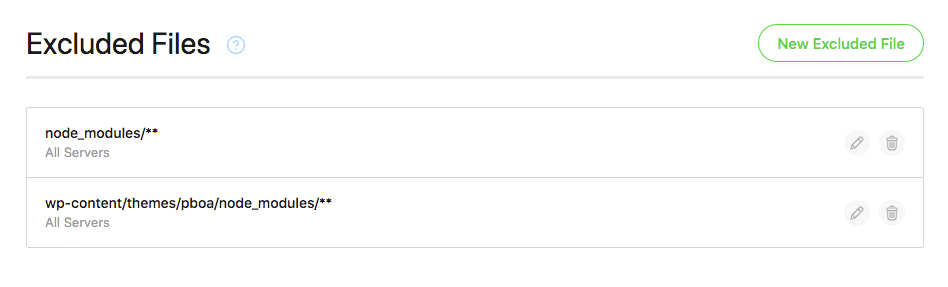
Step 2.2: Update Your Excluded Files
Update your excluded files, ensuring to exclude wp-content/themes/your-theme/node_modules/**. I am a bit aggressive, and also exclude node_modules/**. This ensures that the node_modules folder is not uploaded to our server during deployment.
Step 3: Configure DeployHQ Build Pipeline
Next we need to add and configure our build pipelines, so that we can deploy a Sage theme since we can’t run those commands on a WP Engine server.
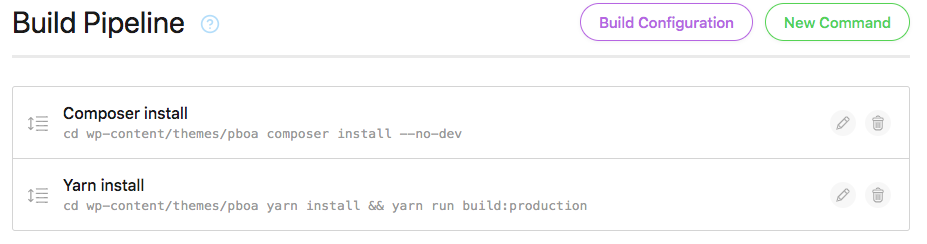
Step 3.1: Create a Composer Command
Assuming your repository is initialized in the root of your WordPress install, add the following build command.
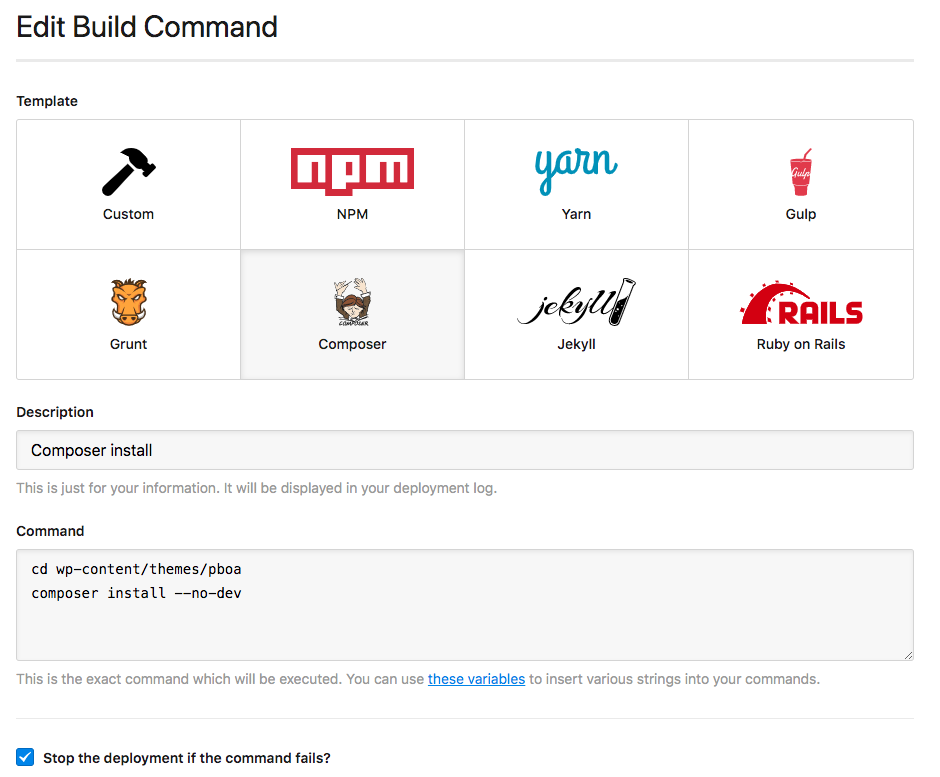
However, if your repository is initialized in your theme, just add the following build command.
Step 3.2: Create a Yarn Command
Assuming your repository is initialized in the root of your WordPress install, add the following build command.
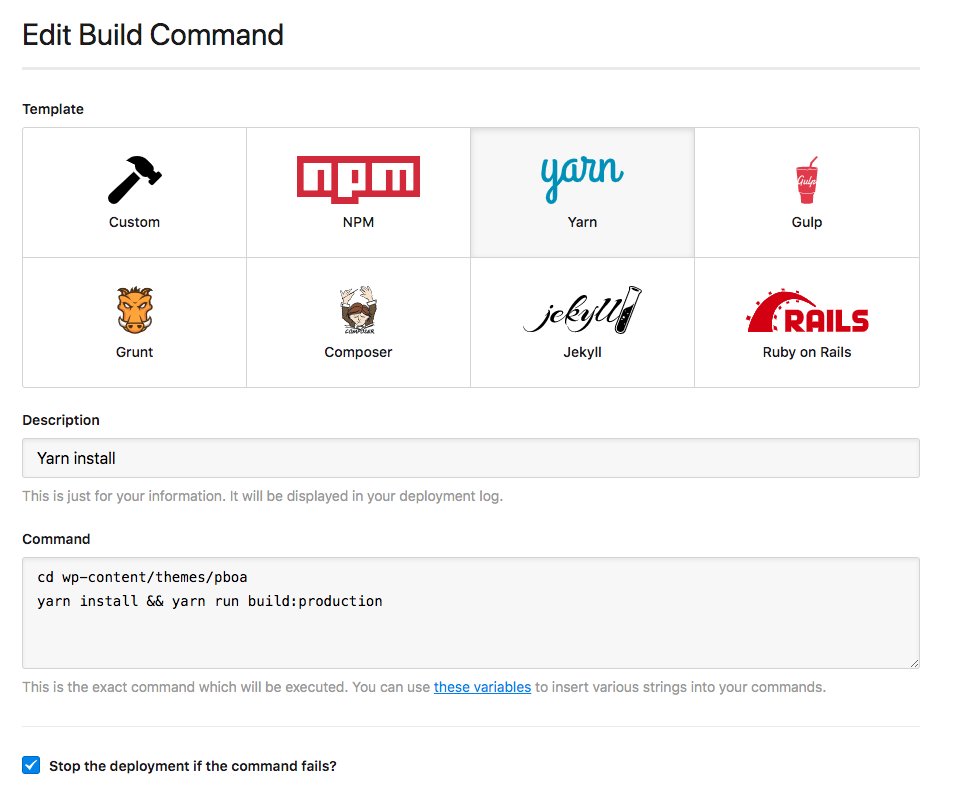
However, if your repository is initialized in your theme, just add the following build command.
Step 3.3: Update Cached Files
Assuming your repository is initialized in the root of your WordPress install, add the following cached files.

wp-content/themes/your-theme/vendor/** and wp-content/themes/your-theme/node_modules/**
However, if your repository is initialized in your theme, just add the following.
vendor/** and node_modules/**
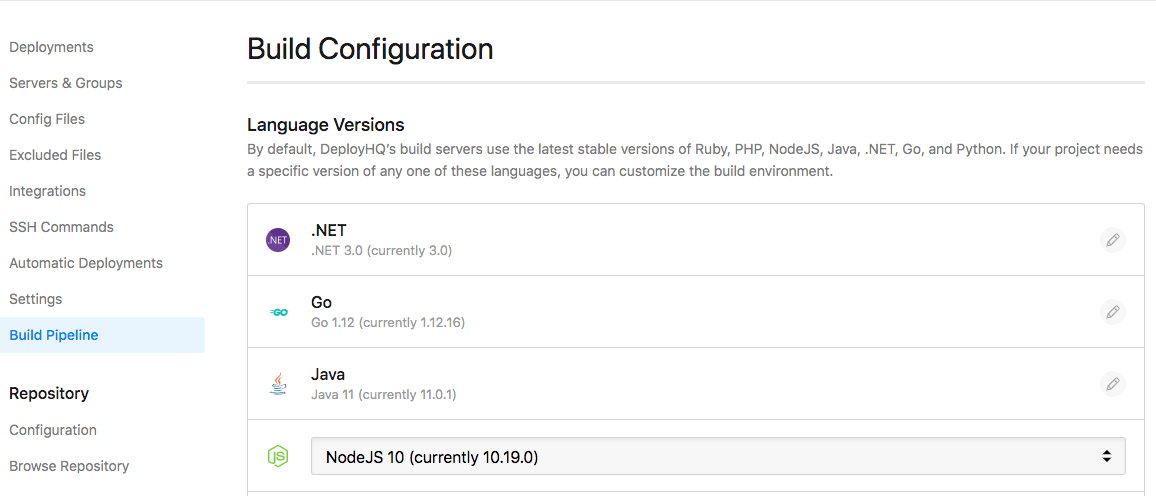
Step 3.4: Update Node Version
Finally, update the version of Node to whatever version you are successfully using locally. In my case, I am am running version 10.
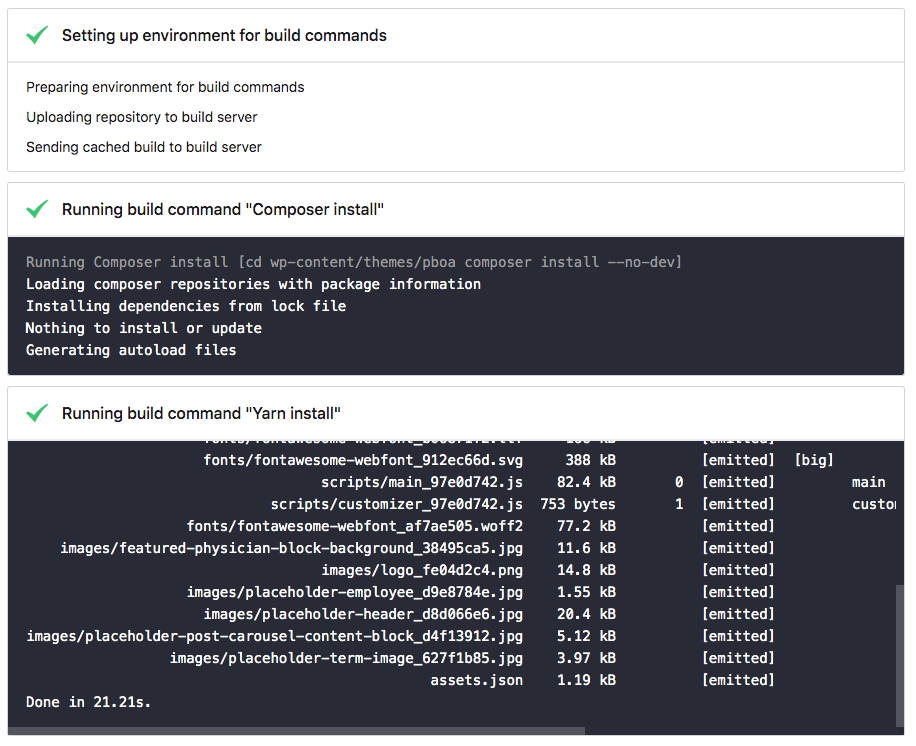
Deploying
Now, when you deploy your theme you should see the build steps.