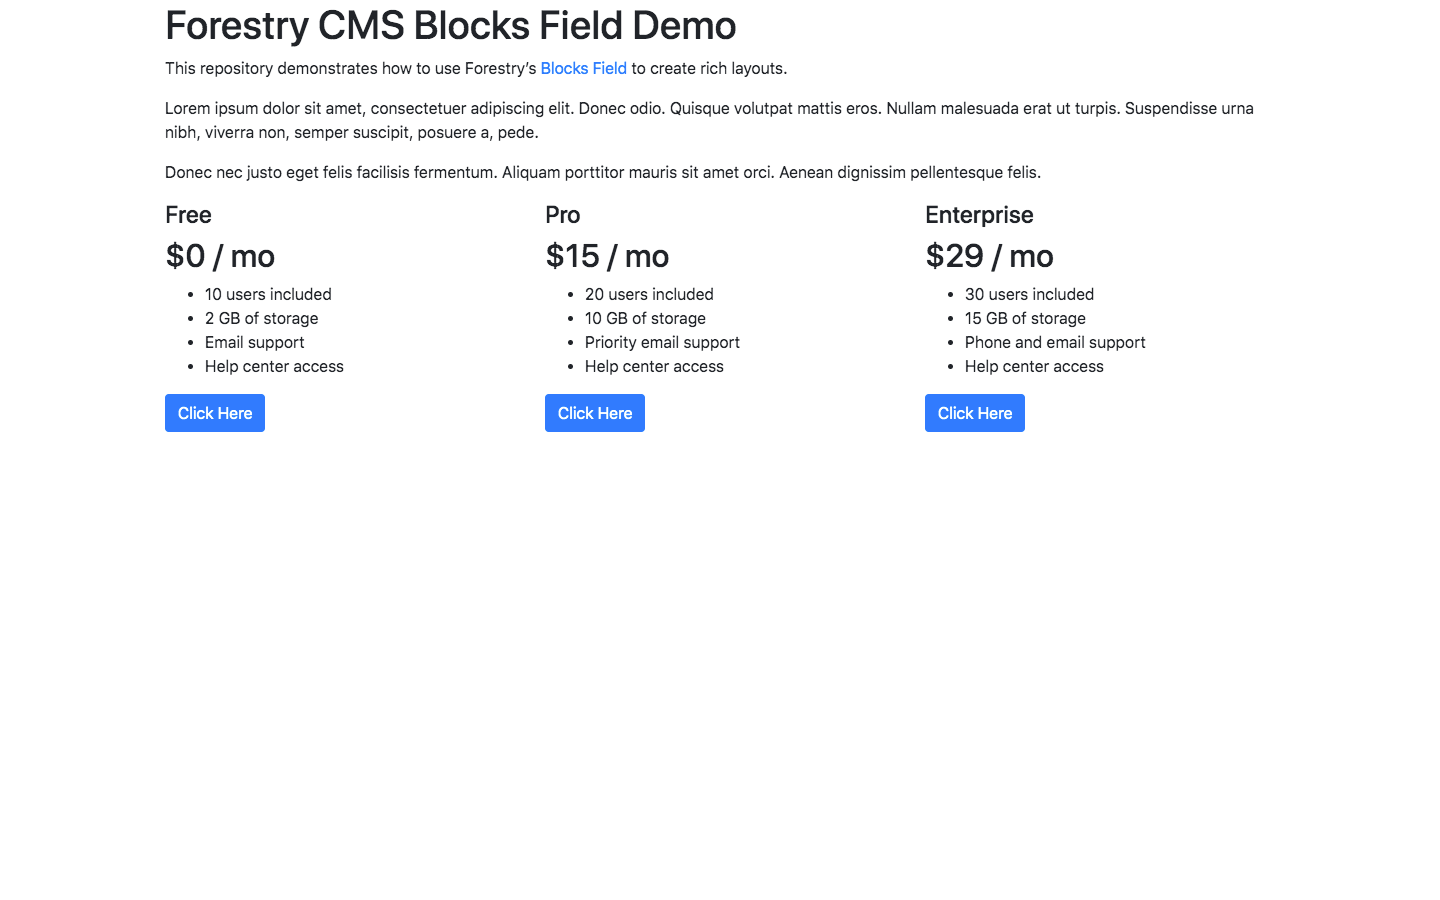
Forestry CMS Blocks Field Demo
Foresty CMS allows content editors to easily manage a staticly generated site without needing to know markdown or HTML. This works really well if you’re just editing a page with a title and a body, but sometimes you need to offer more diversity. Luckily Forestry has a Block Field which allows a content editor to easily add robust content to a page. The example below shows how we can create a block field that displays highlights anywhere on a page.
0. Prerequisites
This tutorial assumes you have a site up and running on Forestry. I will be using Jekyll in this tutorial, but Forestry works with all major static site generators.
1. Create a New Front Matter Template to Be Used as a Block
In order to use a block field, you first need to create a front matter template.
Front Matter Templates (FMTs) enable developers to fully customize the interface of the Markdown and HTML editors. You can think of them as the content model for your front matter.
- Under the
Front mattersection on the sidebar, clickAdd Template, and selectblank template. Click to expand
- Set the name to
Highlightsand selectFields.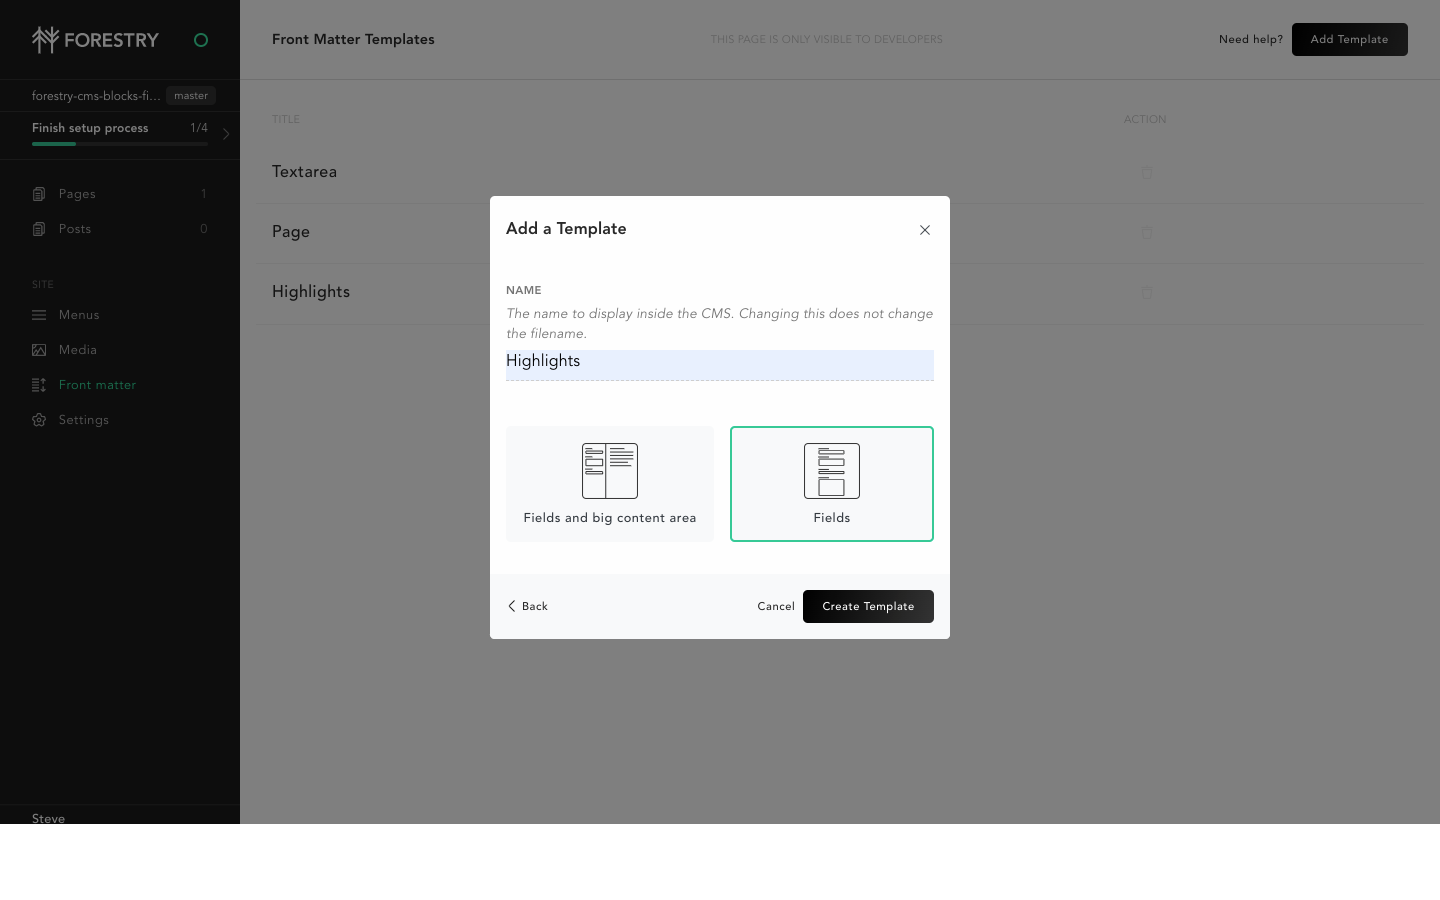 Click to expand
- On the next screen, click
Add Fieldand selectRepeatable Field Group Click to expand
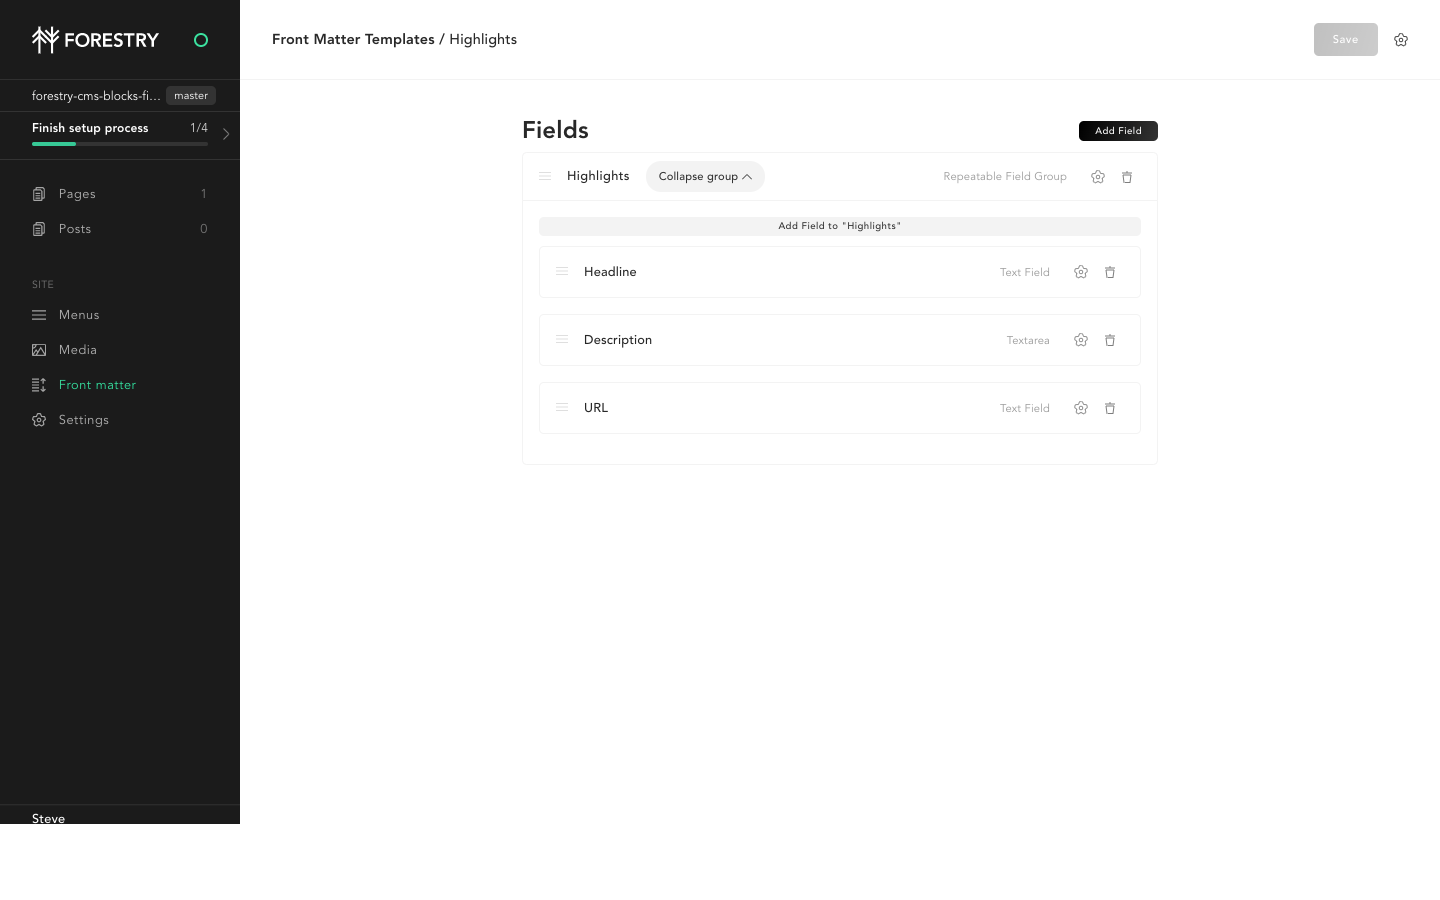
- Set the label to
Highlights. Make sure thenameishighlights.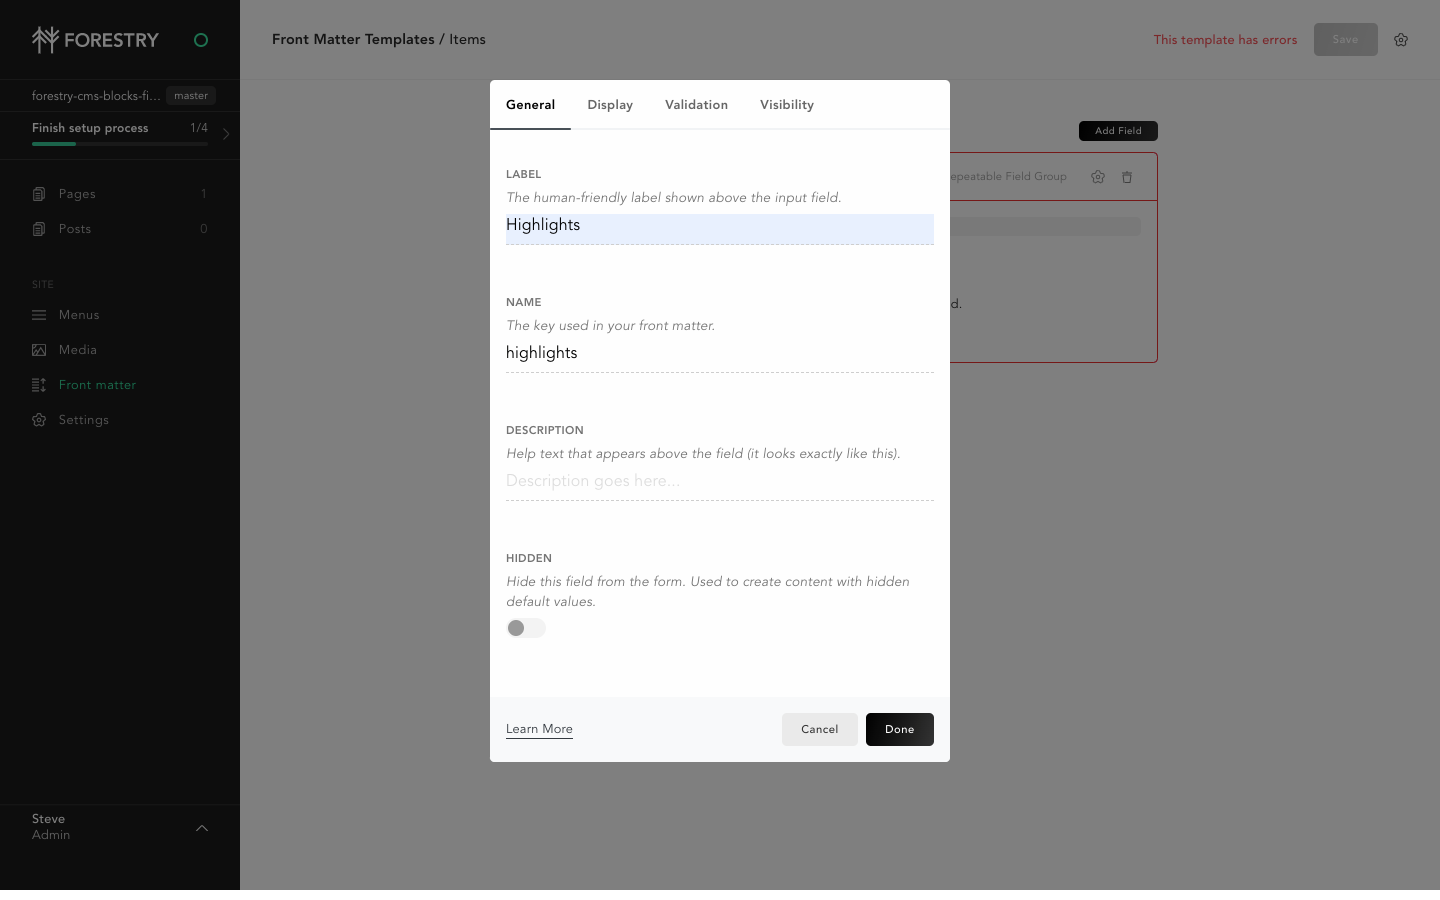 Click to expand
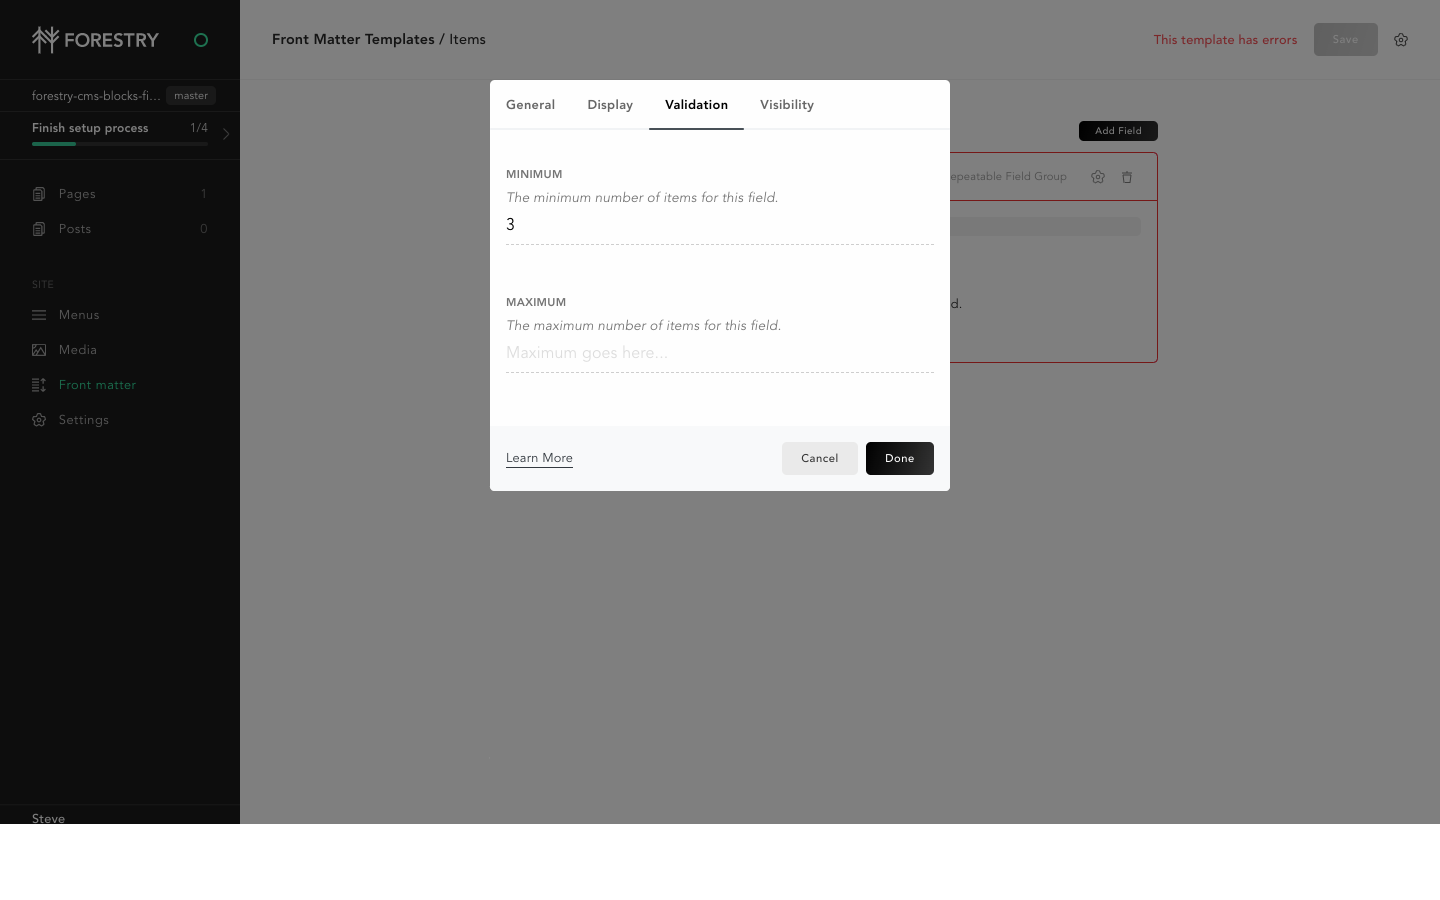
- Set the
Minimumvalue to3under theValidationtab.
 Click to expand
- Click
Add Field to "Highlights" Click to expand
- Select
Textfield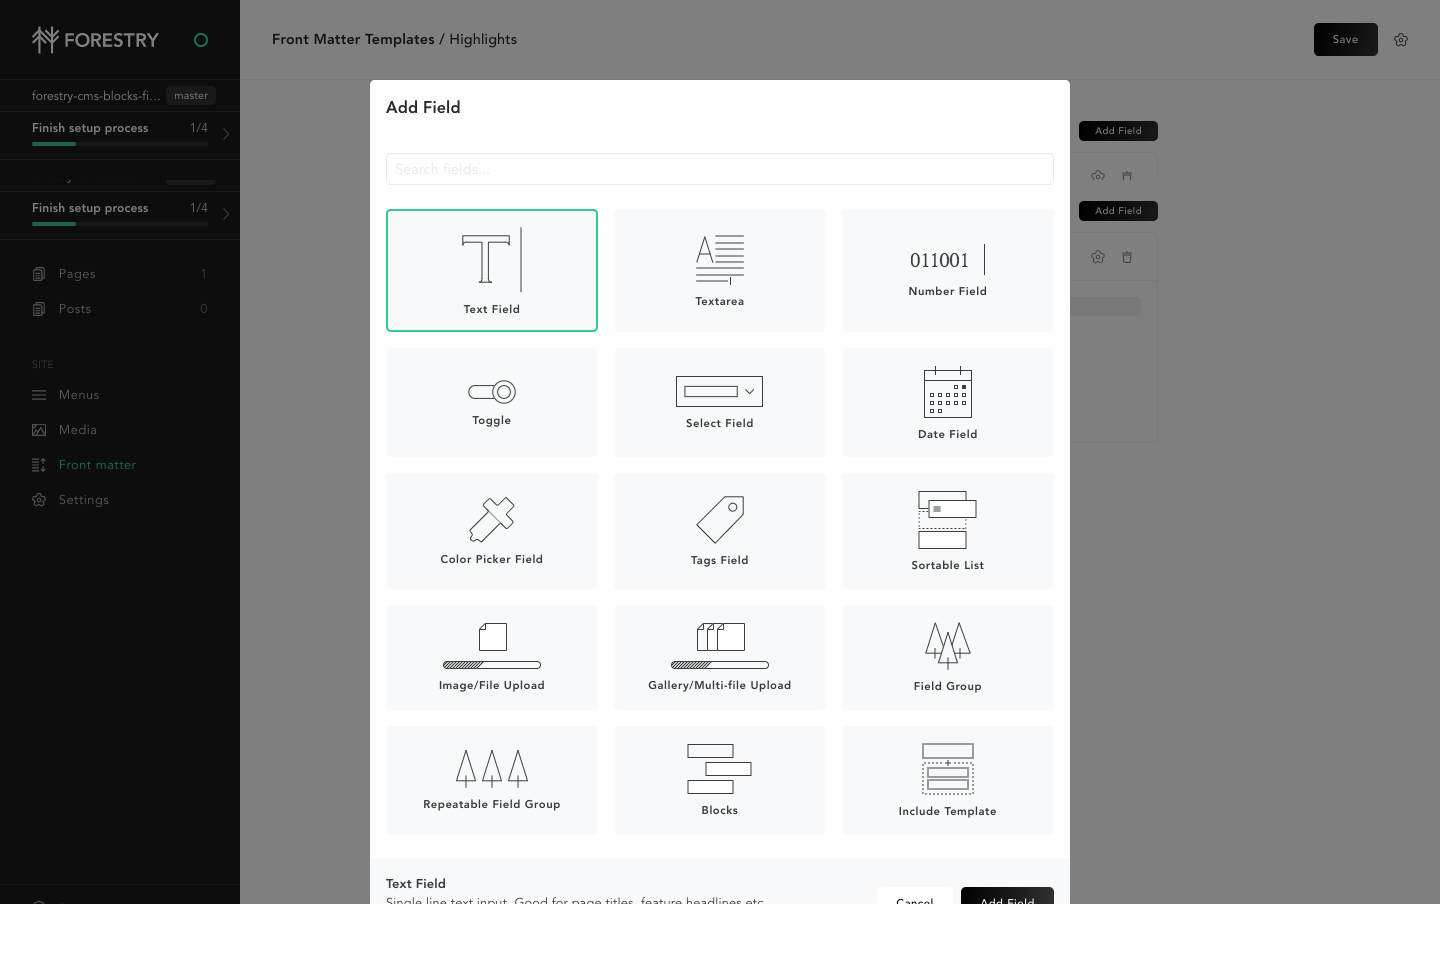 Click to expand
- Set the
LabeltoHeadlineand theNametoheadline.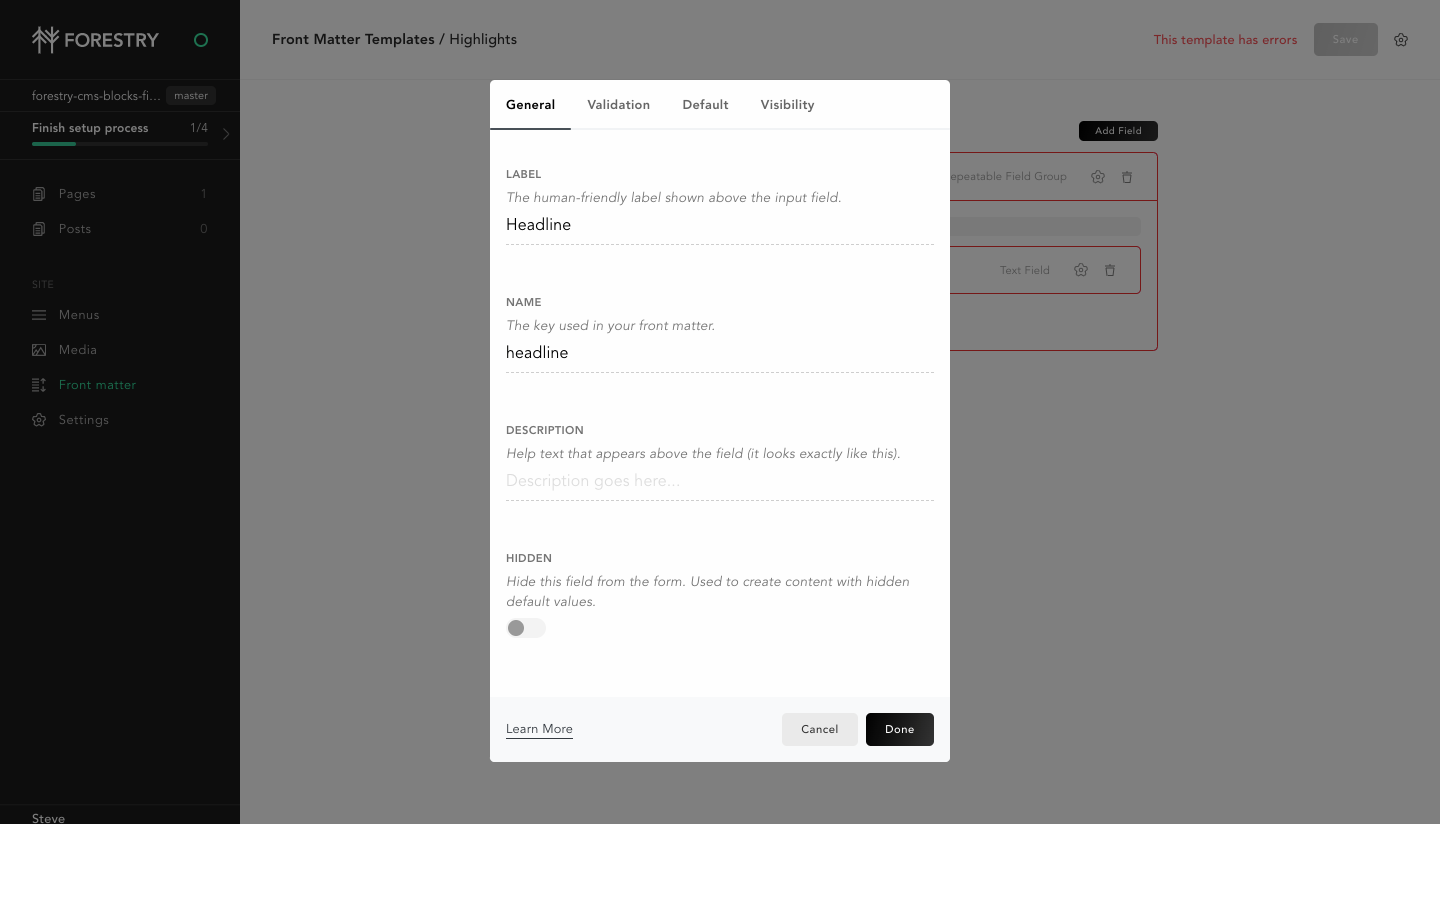 Click to expand
- Enable
Requiredunder theValidationtab.
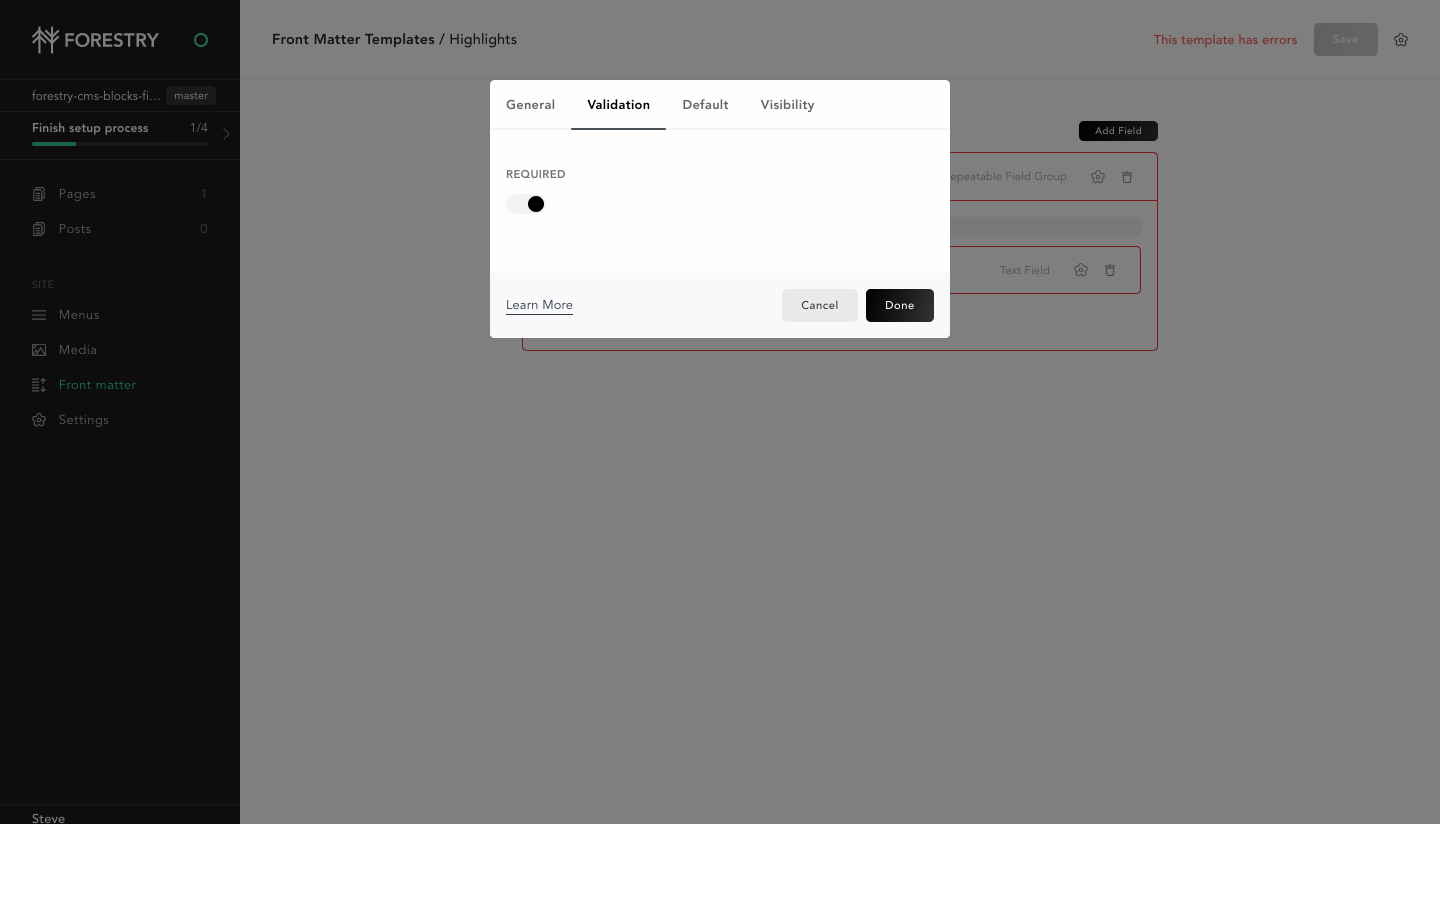 Click to expand
- Click
Add Field to "Highlights"again. - Select
Textfield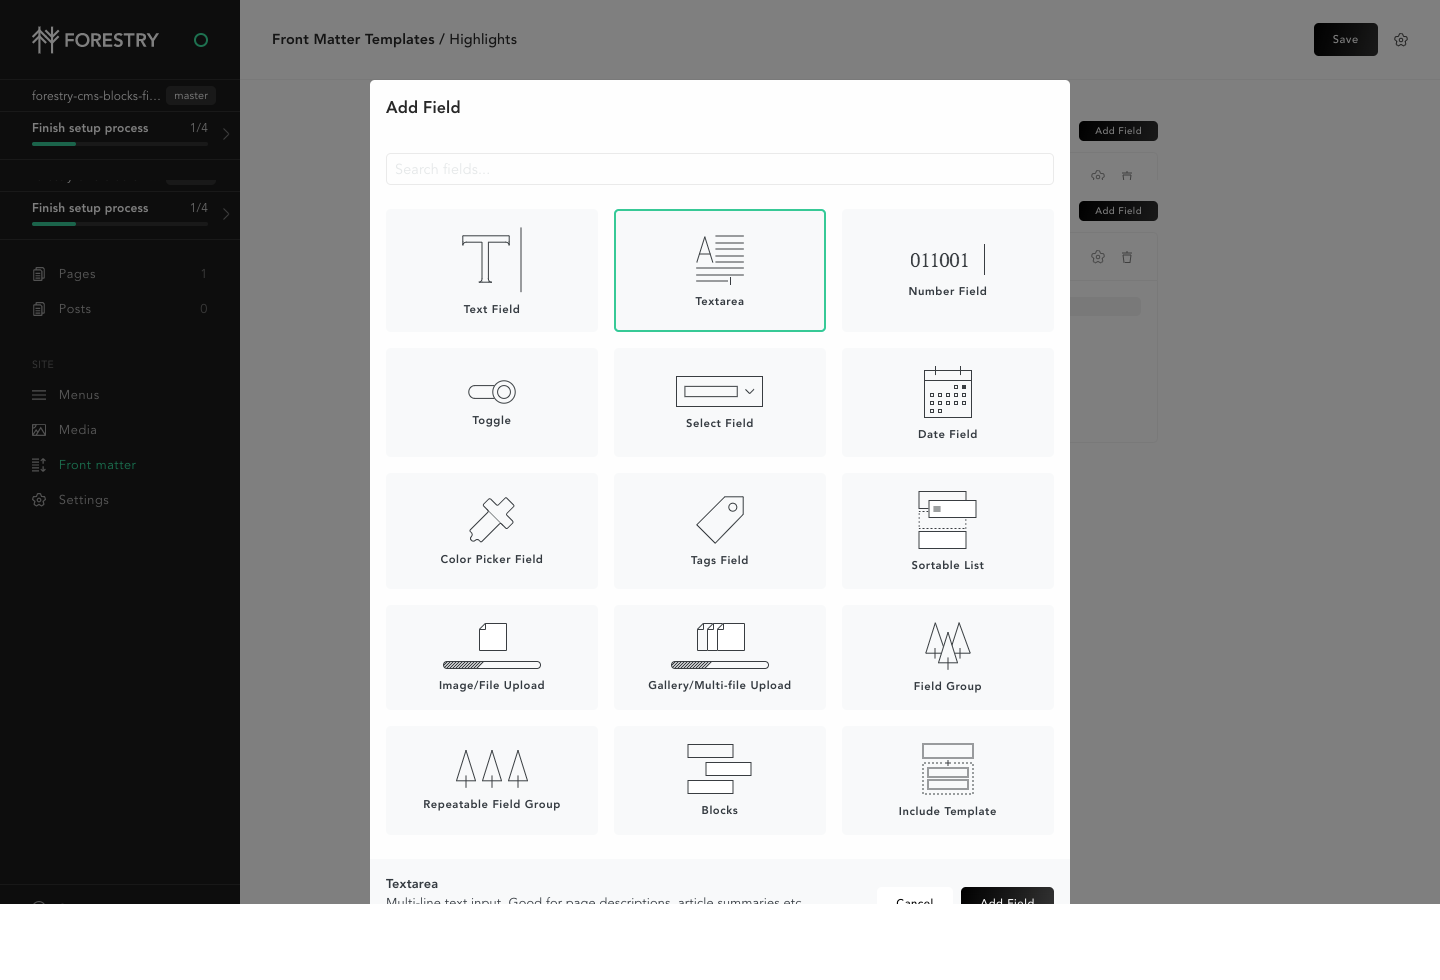 Click to expand
- Set the
LabeltoDescriptionand theNametodescription. Click to expand
- Enable
Textarea/WYSIWYGunder theWidgettab. Click to expand
- Click
Add Field to "Highlights"again. - Select
TextfieldClick to expand
- Set the
LabeltoURLand theNametourl.
- Set the label to
The final configuration should look something like this:
2. Create a New Front Matter Template to Be Used as When Editing Pages
We now need to create a template for Pages on our site. This template will have a Block field that will contain the Highlights field we just created.
- Under the
Front mattersection on the sidebar, clickAdd Template, and selectblank template.Click to expand
- Set the name to
Pageand selectFields and big content area.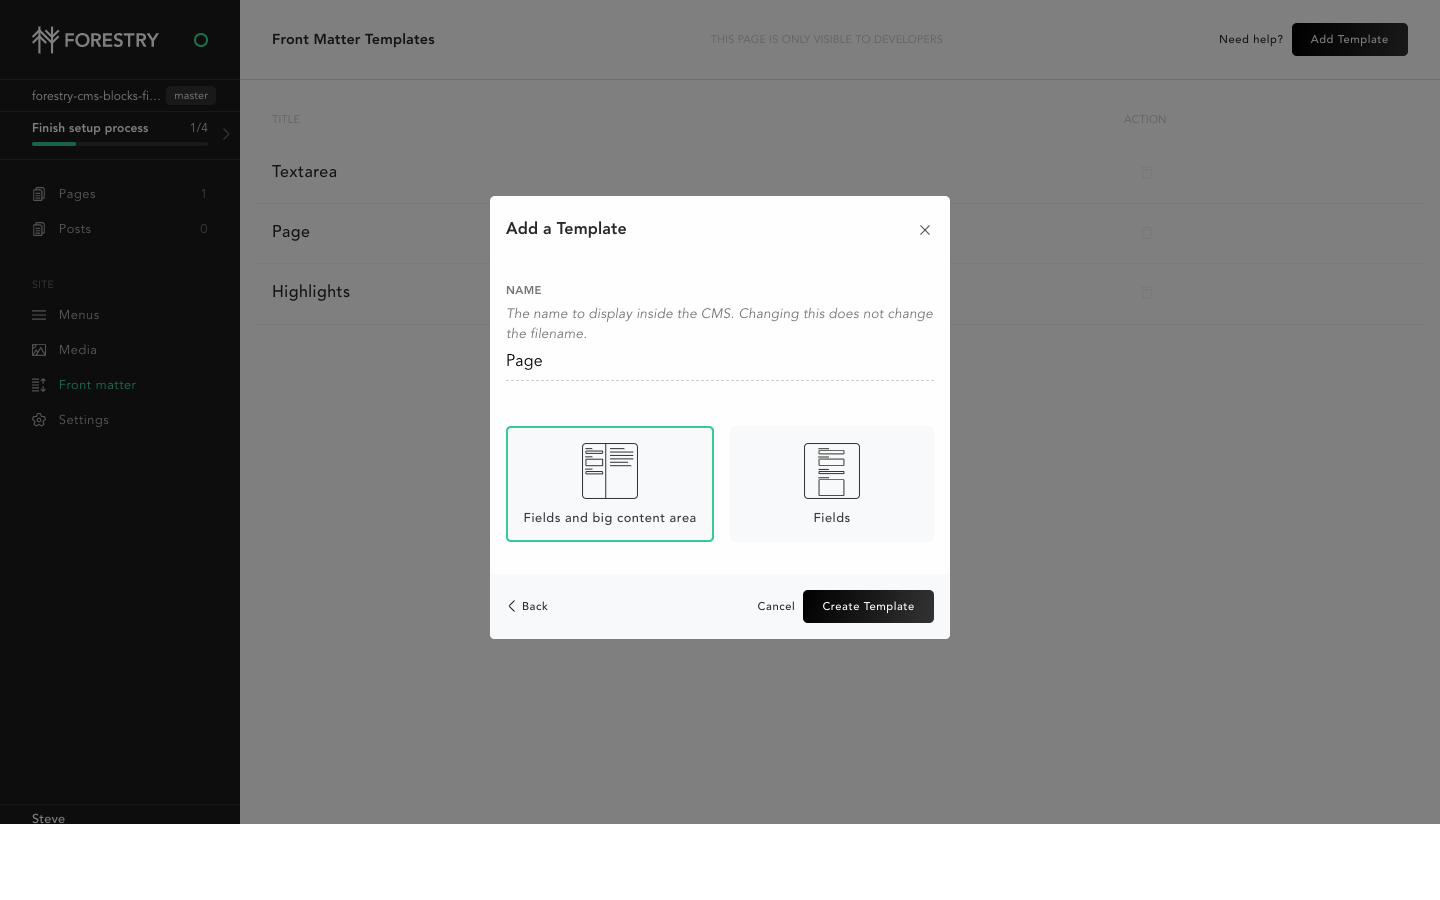 Click to expand
- On the next screen, click
Add Fieldand selectBlocks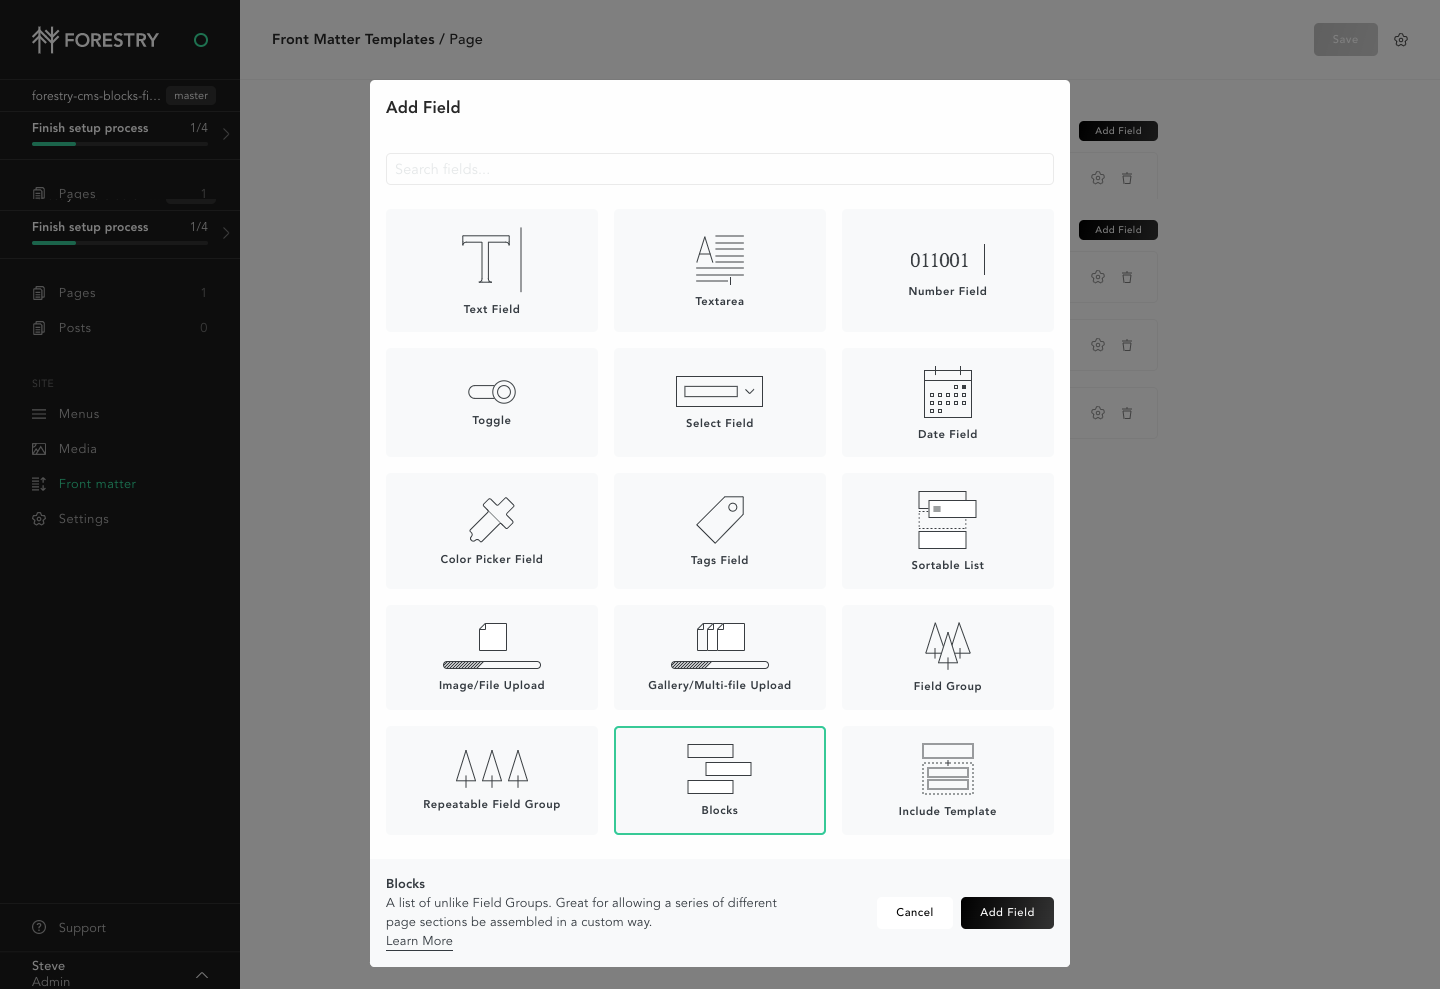 Click to expand
- Set the label to
Page Sections. Make sure thenameispage_sections.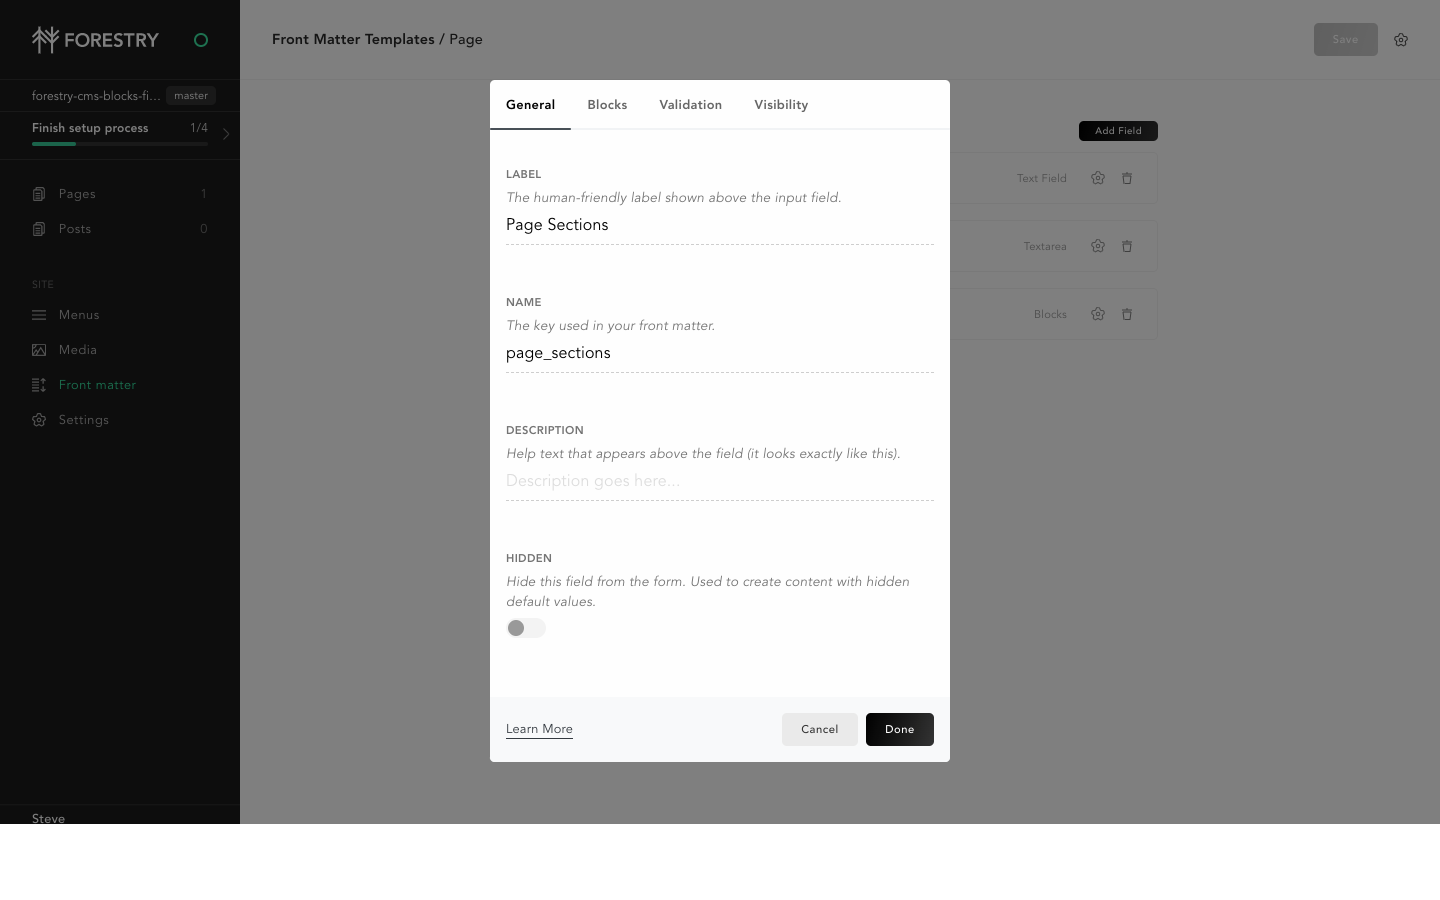 Click to expand
- Under the
Blockstab, select theHighlightswe created in the previous steps.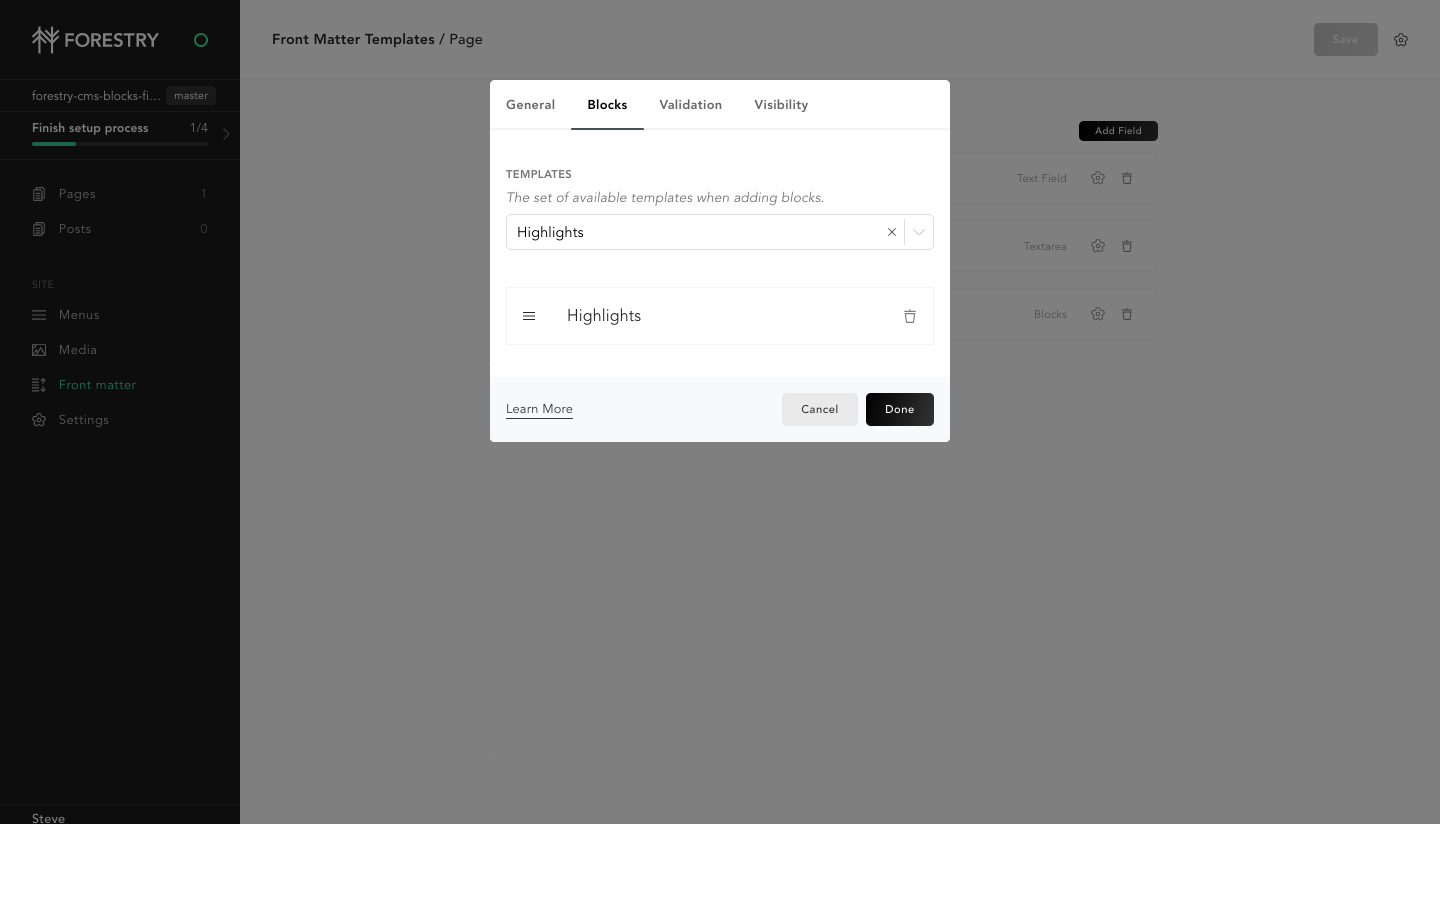 Click to expand
- Set the label to
3. Assign The Page Template to Jekyll Pages
Now that we have a template that contains Block fields, we need to make this template available any Page on our site.
- Under the
Settingssection on the sidebar, navigate to theSidebartab, and clickPages. - Add the
Pagetemplate we created in the previous steps to theAvailable Templatesfield.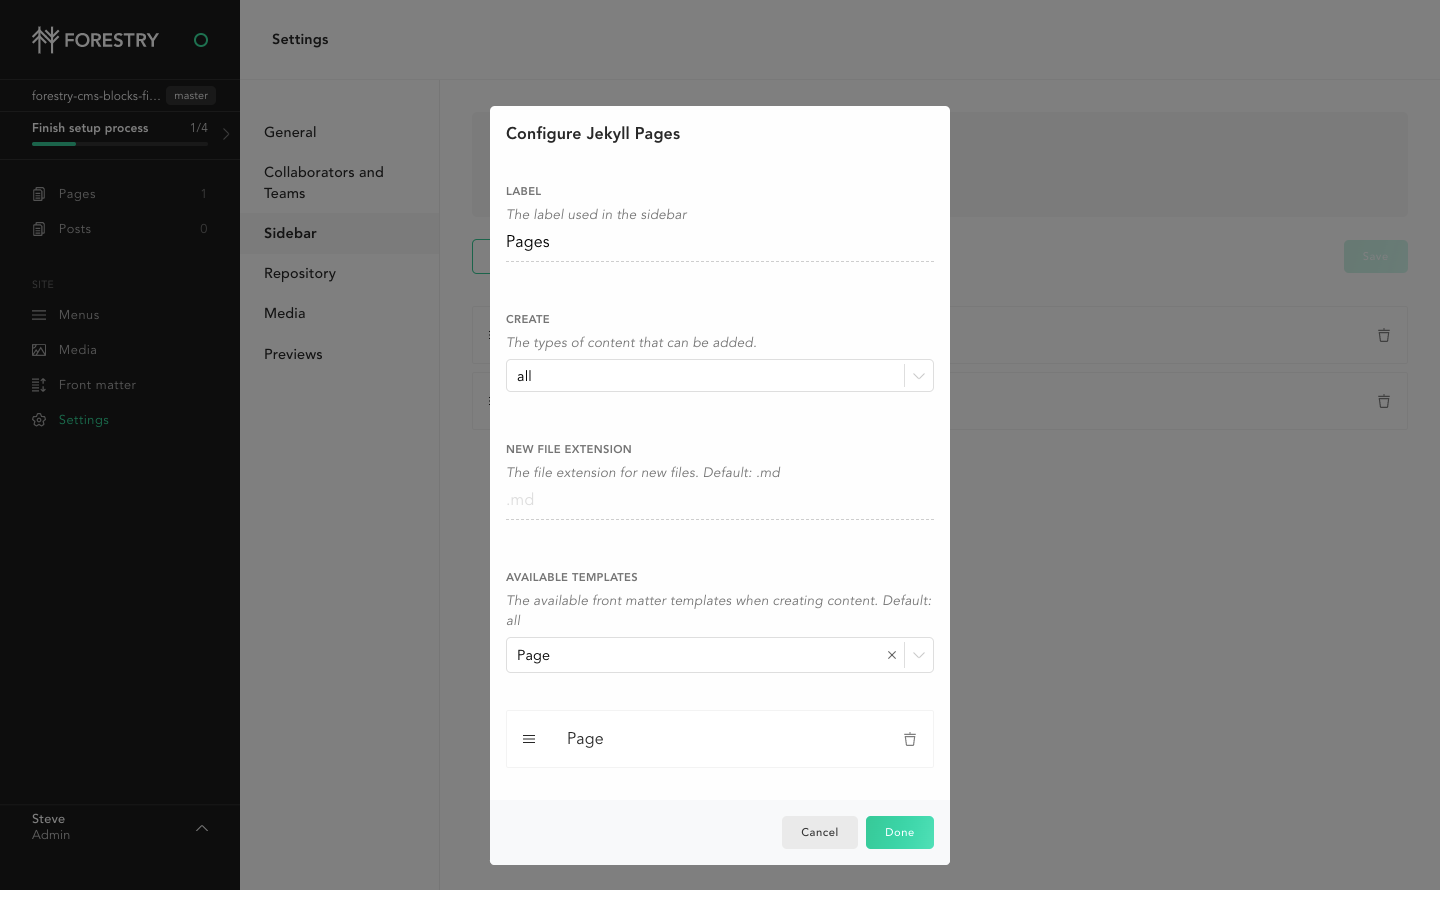 Click to expand
5. Add Block Content To a Page, and Pull The Changes Locally.
Now all Pages in your site have a Page Sections field that allows you to add highlights. Go ahead and add some highlights to a page and save.

Once saved, run git fetch; git pull to pull in the new content and configuration.
Note that the page you edited should have a page_sections: key in the front matter with a list of nested highlights:.
You’ll also notice a .forestry/front_matter/templates/highlights.yml and .forestry/front_matter/templates/page.yml files. These were created by Foresty when we created our Front Matter templates. We could have created these files manually, but it’s easier to make them with the Forestry GUI.
4. Display the Block Field Content
Now that we have our block field data stored in front matter, we need to have it displayed on the page.
- Add the following code to your layout.
- This code loops through all items stored in the
page_sectionskey on the front matter. - It then looks at what template that particular page section is using, and conditionally loads the corresponding partial.
- We can DRY things up by using the template name in the name of the include by writing
include blocks_.htmlinstead ofinclude blocks_highlights.html
- This code loops through all items stored in the
-
Create a
blocks_highlights.htmlpartial.- This is loaded via the
{% include blocks_{{template}}.html %}line.
- This is loaded via the