Create a Bootstrap Theme for WordPress
In this tutorial I will show you how to create a Bootstrap theme for WordPress. If you just want the finished product, feel free to download the theme from my repository.
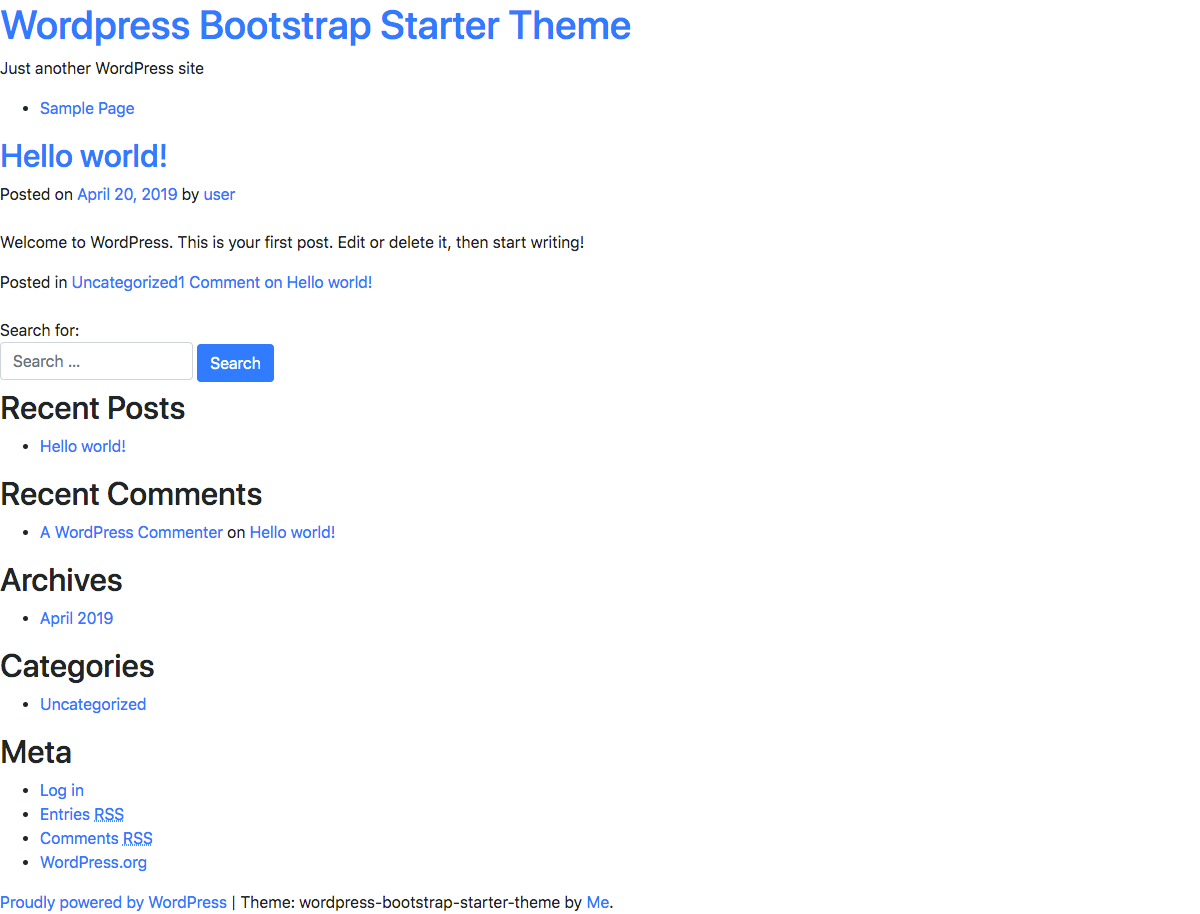
It’s important to note that the theme has minimal styling, and serves as a blank slate for developers. The only assumption this theme makes is that you want to use Bootstrap. You can use as little or as much of the framework as you see fit. Below is the final result.
0. Install the WordPress Command Line
The WordPress Command Line is a Command line interface for WordPress. Simply put, this means that it can automate many tasks for us. One task is generating a starter theme. However, it can do much, much more.
1. Use the WordPress Command Line To Generate a New Starter Theme
Once you’ve installed the CLI, follow these steps to generate a base theme.
- In the root of your WordPress install, run
wp scaffold _s slug_for_your_theme --activate. For the case of this tutorial, I will runwp scaffold _s wordpress-bootstrap-starter-theme --activate.- The wp scaffold _s function generates starter code for a theme based on _s (Underscores).
- The Underscores Theme is created by Automatic, which is the same company that brings us WordPress. By default, it generates all files and directories needed for a valid WordPress theme.
- Note that you can manually download the Underscores Theme, but using the CLI is much more effective.
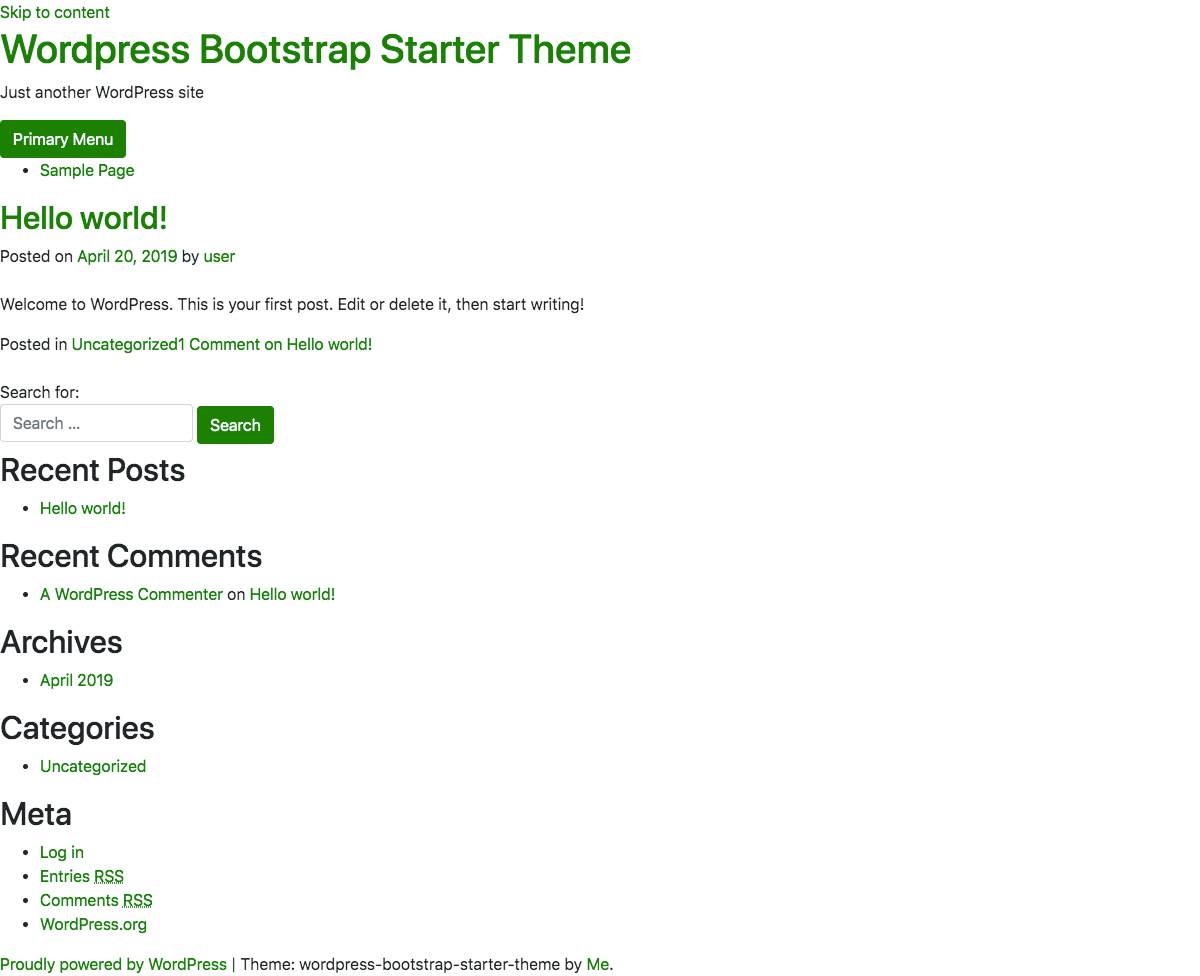
If you navigate to the front end of your website, you should notice an underwhelming theme.
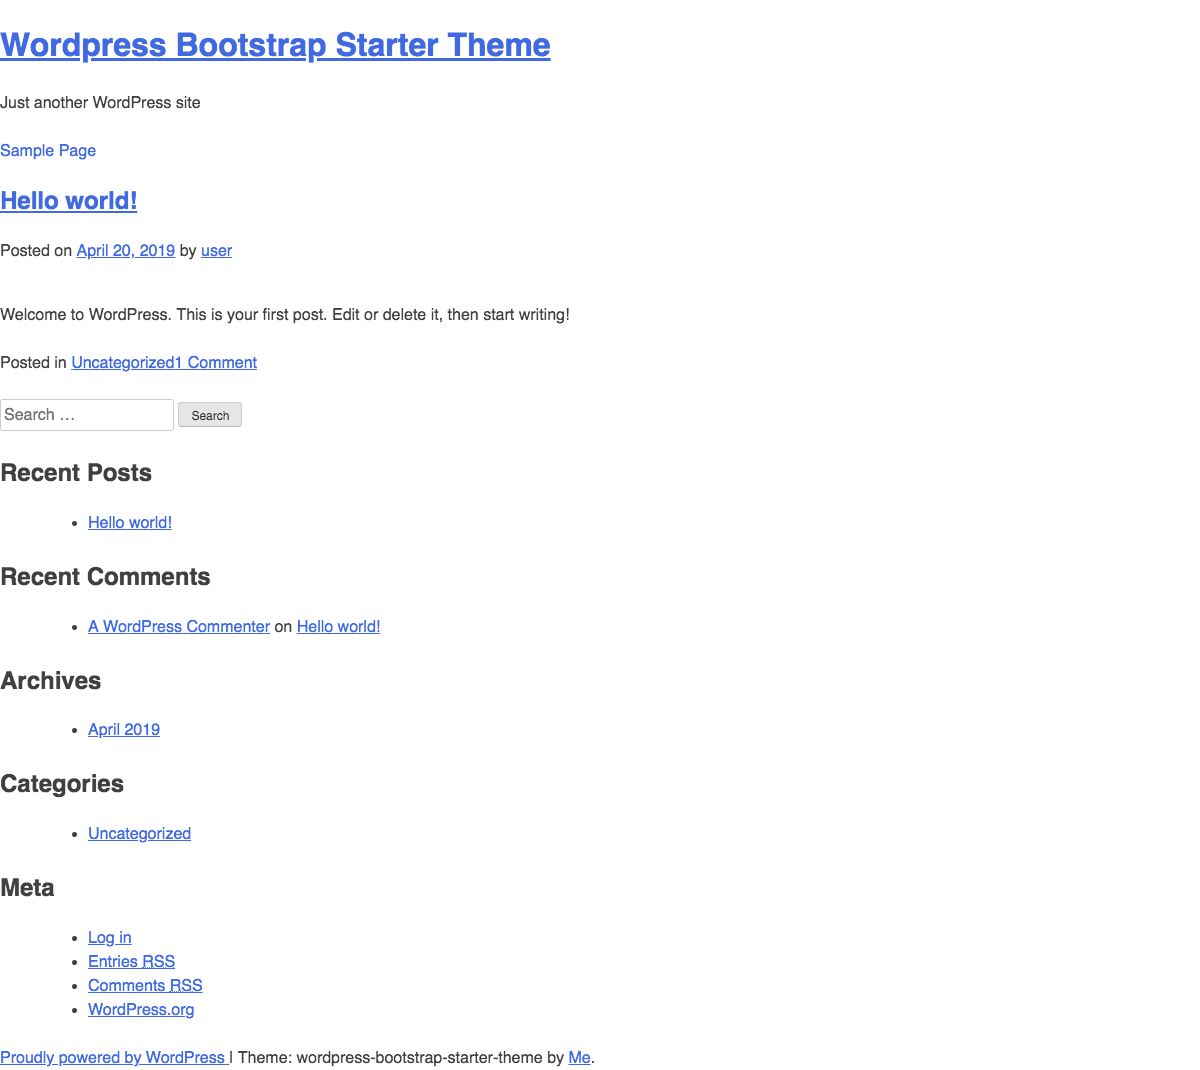
As underwhelming as it is, this starter theme meets all of WordPress’s theme development standards. In short, this means that all the necessary templates, functions and css are generated for you.
2. Install and Configure WPGulp
Now that we have a base theme configured, we’ll want it to be customized with Bootstrap’s CSS, JS and template files. Using a build tool like WPGulp helps speed up this process.
WPGulp is an advanced & extensively documented Gulp.js + WordPress workflow. It can help you kick-start a build-workflow for your WordPress plugins and themes with Gulp.js, save you a lot of grunt work time, follow the DRY (Don’t Repeat Yourself) principle, and #0CJS Zero-config JavaScript startup but still configurable via wpgulp.config.js file…
You can read about all of what WPGulp does, but some of my favorite features are…
- Hot reloading
- ES6 compiling
- SASS compiling
- Automatic image minification
- Compiles all JS and CSS into one file each
- Follow the docs to install WPGulp.
- In my case I
cdinto my theme by runningcd wp-content/themes/wordpress-bootstrap-starter-theme/. - I then run
npx wpgulp.
- In my case I
- Once installation is complete, you’ll want to edit the
wpgulp.config.jsfile.- Change the
projectURL: 'wpgulp.local'variable to match your local development URL. - If you plan on translating your site, make sure to update the translation options.
- Change the
3. Update Your Theme’s File Structure To Work With WPGulp
Now that WPGulp is installed and configured, we’ll want to update our theme’s file structure to match the recommendations in the wpgulp.config.js. These updates are based on the styleSRC, jsVendorSRC, jsCustomSRC and imgSRC variables.
- Assuming you’re still in your theme’s directory, run the following commands.
mkdir -p assets/css assets/js/vendor assets/js/custom assets/img/raw
- Now that the file structure matches the
wpgulp.config.jsconfiguration, we’ll want to move existing.cssand.jsfiles by running the following commands.-
mv style.css assets/css/style.scss- This moves the theme’s
style.cssfile into theassets/css, and also changes it to a.scssfile.
- This moves the theme’s
mv js/customizer.js assets/js/custom/customizer.jsmv js/skip-link-focus-fix.js assets/js/custom/skip-link-focus-fix.js-
rm -R js/- These commands simply move existing javascript files generated by the
wp scaffold _scommand into the new javascript directory. - Note that we did not keep
js/navigation.js. This is an opinionated script to handle mobile navigation that ships with_s. This isn’t necessary since Bootstrap comes with it’s own navbar component.
- These commands simply move existing javascript files generated by the
-
rm -R layouts/- This directory is generated by the
wp scaffold _scommand, and is not needed since Bootstrap ships with a layout system.
- This directory is generated by the
-
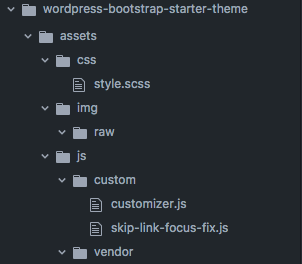
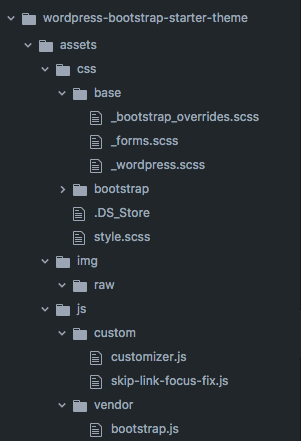
At this point your assets directory should look like this.
4. Add Bootstrap
Now that we have a working a file structure, we can sprinkle in Bootstrap to our theme.
- Download the latest version of Bootstrap
- At the time of this writing, the version is 4.3
- Once unzipped, the folder should look something like this:
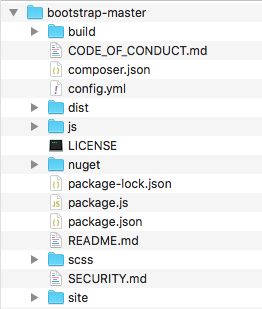 Click to expand
- Copy the
scssdirectory and place it intoassets/css/ - Rename the
assets/css/scssdirectory toassets/css/bootstrap - Copy
dist/js/bootstrap.jsand place it intoassets/js/vendor - Create a new directory called
baseinassets/css/ - Create the following files in
assets/css/base-
_bootstrap_overrides.scss- This file is where you will override the Bootstrap Variable Defaults
-
_forms.scss- This file will serve to automatically style form elements with Bootstrap’s form component classes.
-
_wordpress.scss- This file will store WordPress Generated Classes
-
At this point your assets directory should look like this.
5. Update SCSS Partials and style.scss
Now that we’ve loaded Bootstrap into our theme, we need to update the partials in the base directory. We also need to update the style.scss file.
-
Copy the
cssunder# Formsinstyle.scssand paste intoassets/css/base/_forms.scss/*-------------------------------------------------------------- # Forms --------------------------------------------------------------*/ button, input[type="button"], input[type="reset"], input[type="submit"] { border: 1px solid; border-color: #ccc #ccc #bbb; border-radius: 3px; background: #e6e6e6; color: rgba(0, 0, 0, 0.8); font-size: 12px; font-size: 0.75rem; line-height: 1; padding: 0.6em 1em 0.4em; } button:hover, input[type="button"]:hover, input[type="reset"]:hover, input[type="submit"]:hover { border-color: #ccc #bbb #aaa; } button:active, button:focus, input[type="button"]:active, input[type="button"]:focus, input[type="reset"]:active, input[type="reset"]:focus, input[type="submit"]:active, input[type="submit"]:focus { border-color: #aaa #bbb #bbb; } input[type="text"], input[type="email"], input[type="url"], input[type="password"], input[type="search"], input[type="number"], input[type="tel"], input[type="range"], input[type="date"], input[type="month"], input[type="week"], input[type="time"], input[type="datetime"], input[type="datetime-local"], input[type="color"], textarea { color: #666; border: 1px solid #ccc; border-radius: 3px; padding: 3px; } input[type="text"]:focus, input[type="email"]:focus, input[type="url"]:focus, input[type="password"]:focus, input[type="search"]:focus, input[type="number"]:focus, input[type="tel"]:focus, input[type="range"]:focus, input[type="date"]:focus, input[type="month"]:focus, input[type="week"]:focus, input[type="time"]:focus, input[type="datetime"]:focus, input[type="datetime-local"]:focus, input[type="color"]:focus, textarea:focus { color: #111; } select { border: 1px solid #ccc; } textarea { width: 100%; } -
Update
assets/css/base/_forms.scsswith the following- This allows us to style all form elements by extending Bootstrap’s Form Component classes, rather than having to add these classes to the elements directly.
/*-------------------------------------------------------------- # Forms --------------------------------------------------------------*/ button, input[type="button"], input[type="reset"], input[type="submit"] { @extend .btn; @extend .btn-primary; } input[type="text"], input[type="email"], input[type="url"], input[type="password"], input[type="search"], input[type="number"], input[type="tel"], input[type="range"], input[type="date"], input[type="month"], input[type="week"], input[type="time"], input[type="datetime"], input[type="datetime-local"], input[type="color"], textarea { @extend .form-control; } select { @extend .form-control; } textarea { @extend .form-control; } -
Add the following
csstoassets/css/base/_wordpress.scss- These styles are taken from
style.scss, which was originallystyle.css. This was generated by thewp scaffold _scommand. - This file contains styles for WordPress Generated Classes.
/*-------------------------------------------------------------- # Accessibility --------------------------------------------------------------*/ /* Do not show the outline on the skip link target. */ #content[tabindex="-1"]:focus { outline: 0; } /*-------------------------------------------------------------- # Alignments --------------------------------------------------------------*/ .alignleft { display: inline; float: left; margin-right: 1.5em; } .alignright { display: inline; float: right; margin-left: 1.5em; } .aligncenter { clear: both; display: block; margin-left: auto; margin-right: auto; } /*-------------------------------------------------------------- # Content --------------------------------------------------------------*/ /*-------------------------------------------------------------- ## Posts and pages --------------------------------------------------------------*/ .sticky { display: block; } .post, .page { margin: 0 0 1.5em; } .updated:not(.published) { display: none; } .page-content, .entry-content, .entry-summary { margin: 1.5em 0 0; } .page-links { clear: both; margin: 0 0 1.5em; } /*-------------------------------------------------------------- ## Comments --------------------------------------------------------------*/ .comment-content a { word-wrap: break-word; } .bypostauthor { display: block; } /*-------------------------------------------------------------- # Infinite scroll --------------------------------------------------------------*/ /* Globally hidden elements when Infinite Scroll is supported and in use. */ .infinite-scroll .posts-navigation, .infinite-scroll.neverending .site-footer { /* Theme Footer (when set to scrolling) */ display: none; } /* When Infinite Scroll has reached its end we need to re-display elements that were hidden (via .neverending) before. */ .infinity-end.neverending .site-footer { display: block; } /*-------------------------------------------------------------- # Media --------------------------------------------------------------*/ .page-content .wp-smiley, .entry-content .wp-smiley, .comment-content .wp-smiley { border: none; margin-bottom: 0; margin-top: 0; padding: 0; } /* Make sure embeds and iframes fit their containers. */ embed, iframe, object { max-width: 100%; } /* Make sure logo link wraps around logo image. */ .custom-logo-link { display: inline-block; } /*-------------------------------------------------------------- ## Captions --------------------------------------------------------------*/ .wp-caption { margin-bottom: 1.5em; max-width: 100%; } .wp-caption img[class*="wp-image-"] { display: block; margin-left: auto; margin-right: auto; } .wp-caption .wp-caption-text { margin: 0.8075em 0; } .wp-caption-text { text-align: center; } /*-------------------------------------------------------------- ## Galleries --------------------------------------------------------------*/ .gallery { margin-bottom: 1.5em; } .gallery-item { display: inline-block; text-align: center; vertical-align: top; width: 100%; } .gallery-columns-2 .gallery-item { max-width: 50%; } .gallery-columns-3 .gallery-item { max-width: 33.33%; } .gallery-columns-4 .gallery-item { max-width: 25%; } .gallery-columns-5 .gallery-item { max-width: 20%; } .gallery-columns-6 .gallery-item { max-width: 16.66%; } .gallery-columns-7 .gallery-item { max-width: 14.28%; } .gallery-columns-8 .gallery-item { max-width: 12.5%; } .gallery-columns-9 .gallery-item { max-width: 11.11%; } .gallery-caption { display: block; } - These styles are taken from
-
Remove all css from
style.scss, and replace with@importstatements./* Theme Name: Wordpress-bootstrap-starter-theme Theme URI: http://underscores.me/ Author: Me Author URI: http://underscores.me/ Description: Custom theme: Wordpress-bootstrap-starter-theme, developed by Me Version: 1.0.0 License: GNU General Public License v2 or later License URI: LICENSE Text Domain: wordpress-bootstrap-starter-theme Tags: custom-background, custom-logo, custom-menu, featured-images, threaded-comments, translation-ready This theme, like WordPress, is licensed under the GPL. Use it to make something cool, have fun, and share what you've learned with others. Wordpress-bootstrap-starter-theme is based on Underscores https://underscores.me/, (C) 2012-2017 Automattic, Inc. Underscores is distributed under the terms of the GNU GPL v2 or later. Normalizing styles have been helped along thanks to the fine work of Nicolas Gallagher and Jonathan Neal https://necolas.github.io/normalize.css/ */ // Base Styles @import "./base/bootstrap_overrides"; @import "./base/wordpress"; @import "./base/forms"; // Bootstrap Styles @import "./bootstrap/bootstrap";
5. Update functions.php
Now that the assets directory is configured, we’ll need to update the theme’s functions.php file.
-
Open up your theme’s
functions.phpfile and scroll down to the Enqueue scripts and styles. section. It should look something like this./** * Enqueue scripts and styles. */ function wordpress_bootstrap_starter_theme_scripts() { wp_enqueue_style( "wordpress-bootstrap-starter-theme-style", get_stylesheet_uri() ); wp_enqueue_script( "wordpress-bootstrap-starter-theme-navigation", get_template_directory_uri() . "/js/navigation.js", [], "20151215", true ); wp_enqueue_script( "wordpress-bootstrap-starter-theme-skip-link-focus-fix", get_template_directory_uri() . "/js/skip-link-focus-fix.js", [], "20151215", true ); if (is_singular() && comments_open() && get_option("thread_comments")) { wp_enqueue_script("comment-reply"); } } add_action( "wp_enqueue_scripts", "wordpress_bootstrap_starter_theme_scripts" );WPGulp will concatenate all javascript files in the
assets/js/customandassets/js/vendordirectories into one file each. This means that we don’t need to individually loadnavigation.jsandskip-link-focus-fix.jsanymore. Note that these files were generated by thewp scaffold _scommand, and aren’t required for every WordPress theme. -
Remove the existing
wp_enqueue_scriptfunctions and replace with the following.- We load
https://cdnjs.cloudflare.com/ajax/libs/popper.js/1.14.7/umd/popper.min.jsas this is a requirement for Bootstrap. - We added
'jquery'as an argument to thewp_enqueue_scriptfunction for the vendor-scripts. This is because Bootstrap requires jQuery. - We added
'customize-preview'as an argument to thewp_enqueue_scriptfunction for the custom-scripts. This is because the/assets/js/custom/customizer.jsfile generated by thewp scaffold _sis only loaded on the theme customizer page. - I chose to load the
.minversions of each file, but you can load the unminified versions if you wish. - The
vendor.min.jsandcustom.min.jsfiles will be generated once we run WPGulp.
/** * Enqueue scripts and styles. */ function wordpress_bootstrap_starter_theme_scripts() { wp_enqueue_style( "wordpress-bootstrap-starter-theme-style", get_stylesheet_uri() ); wp_enqueue_script( "wordpress-bootstrap-starter-theme-popper", "https://cdnjs.cloudflare.com/ajax/libs/popper.js/1.14.7/umd/popper.min.js", ["jquery"], "20151215", true ); wp_enqueue_script( "wordpress-bootstrap-starter-theme-vendor-scripts", get_template_directory_uri() . "/assets/js/vendor.min.js", ["jquery"], "20151215", true ); wp_enqueue_script( "wordpress-bootstrap-starter-theme-custom-scripts", get_template_directory_uri() . "/assets/js/custom.min.js", ["customize-preview"], "20151215", true ); if (is_singular() && comments_open() && get_option("thread_comments")) { wp_enqueue_script("comment-reply"); } } add_action( "wp_enqueue_scripts", "wordpress_bootstrap_starter_theme_scripts" ); - We load
-
Run
npm startto make sure everything is working. You should be able to open up http://localhost:3000/ and see your site. It should look similar to the following: -
To ensure everything is hooked up correctly, let’s override the
$primaryBootstrap variable.

-
Open
assets/css/base/_bootstrap_overrides.scssand add$primary: green;
5. Update Header Markup
At this point we have everything we need to start building a Bootstrap theme. However, there are two small edits we should make. The current header.php file should look like this.
<div id="page" class="site">
    <a class="skip-link screen-reader-text" href="#content"><?php esc_html_e(
      "Skip to content",
      "wordpress-bootstrap-starter-theme"
    ); ?></a>

    <header id="masthead" class="site-header">
        <div class="site-branding">
            <?php
            the_custom_logo();
            if (is_front_page() && is_home()): ?>
                <h1 class="site-title"><a href="<?php echo esc_url(
                  home_url("/")
                ); ?>" rel="home"><?php bloginfo("name"); ?></a></h1>
                <?php else: ?>
                <p class="site-title"><a href="<?php echo esc_url(
                  home_url("/")
                ); ?>" rel="home"><?php bloginfo("name"); ?></a></p>
                <?php endif;
            $wordpress_bootstrap_starter_theme_description = get_bloginfo(
              "description",
              "display"
            );
            if (
              $wordpress_bootstrap_starter_theme_description ||
              is_customize_preview()
            ): ?>
                <p class="site-description"><?php echo $wordpress_bootstrap_starter_theme_description;
              /* WPCS: xss ok. */
              ?></p>
            <?php endif;
            ?>
        </div><!-- .site-branding -->

        <nav id="site-navigation" class="main-navigation">
            <button class="menu-toggle" aria-controls="primary-menu"
aria-expanded="false"><?php esc_html_e(
  "Primary Menu",
  "wordpress-bootstrap-starter-theme"
); ?></button>
            <?php wp_nav_menu([
              "theme_location" => "menu-1",
              "menu_id" => "primary-menu",
            ]); ?>
        </nav><!-- #site-navigation -->
    </header><!-- #masthead -->

    <div id="content" class="site-content">
- Update the skip link class to use Bootstrap’s screen reader, and remove the
button.menu-togglebutton, since that was specific to the_stheme.
<div id="page" class="site">
    <a class="sr-only sr-only-focusable" href="#content"><?php esc_html_e(
      'Skip
to content',
      "wordpress-bootstrap-starter-theme"
    ); ?></a>

    <header id="masthead" class="site-header">
        <div class="site-branding">
            <?php
            the_custom_logo();
            if (is_front_page() && is_home()): ?>
                <h1 class="site-title"><a href="<?php echo esc_url(
                  home_url("/")
                ); ?>" rel="home"><?php bloginfo("name"); ?></a></h1>
                <?php else: ?>
                <p class="site-title"><a href="<?php echo esc_url(
                  home_url("/")
                ); ?>" rel="home"><?php bloginfo("name"); ?></a></p>
                <?php endif;
            $wordpress_bootstrap_starter_theme_description = get_bloginfo(
              "description",
              "display"
            );
            if (
              $wordpress_bootstrap_starter_theme_description ||
              is_customize_preview()
            ): ?>
                <p class="site-description"><?php echo $wordpress_bootstrap_starter_theme_description;
              /* WPCS: xss ok. */
              ?></p>
            <?php endif;
            ?>
        </div><!-- .site-branding -->
        <nav id="site-navigation" class="main-navigation">
            <?php wp_nav_menu([
              "theme_location" => "menu-1",
              "menu_id" => "primary-menu",
            ]); ?>
        </nav><!-- #site-navigation -->
    </header><!-- #masthead -->

    <div id="content" class="site-content">