Configure Cloudflare DNS to Work with Netlify
I just migrated my site to Netlify but wanted to keep my DNS with Cloudflare. Below are the steps needed to configure Cloudflare DNS to Work with Netlify.
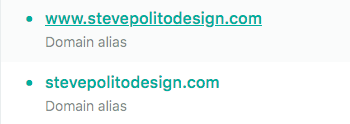
1. Add WWW and Non WWW Domains to Netlfiy
Make sure you add both the WWW and Non WWW versions of your domain. In my case, that meant adding www.stevepolitodesign.com and stevepolitodesign.com
2. Make Note of Netlify’s DNS Configuration
After you add your domain(s), you’ll notice a Check DNS configuration button for each domain added.

Click each button to reveal the settings. You’ll notice that the settings for the WWW domain just list one option. It will list www CNAME your-netlify-account.netlify.com..
However, you’ll get two DNS recommendations for the Non WWW domain, which will look like this:
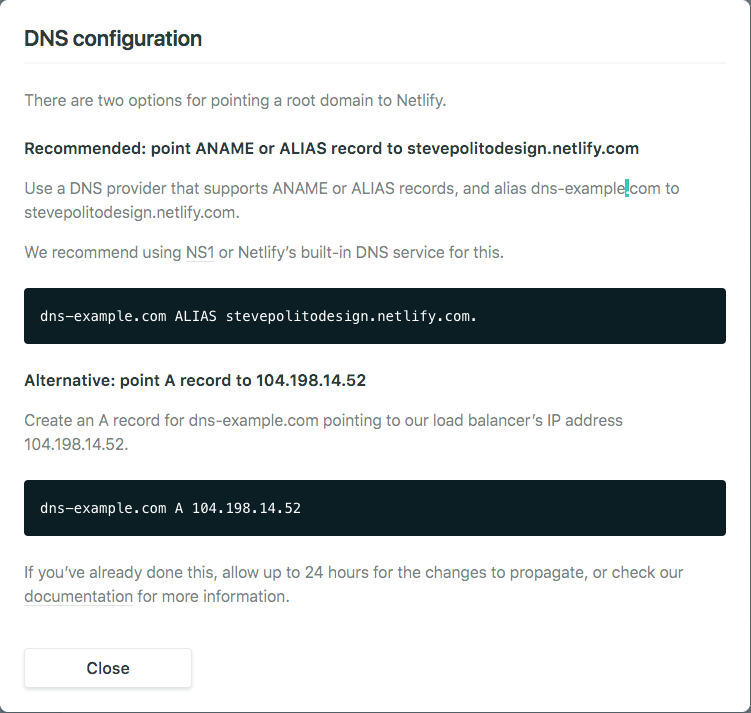
Note that Netlify recommends you avoid adding an A record.
3. Update Cloudflare DNS, and Disable Cloudflare CDN
Login to Cloudflare and make sure you have two CNAME records. One for the WWW, and one for the domain itself. There should be no A records.
Finally, disable Cloudflare’s CDN by clicking the orange cloud next to these records. It should now be gray.
